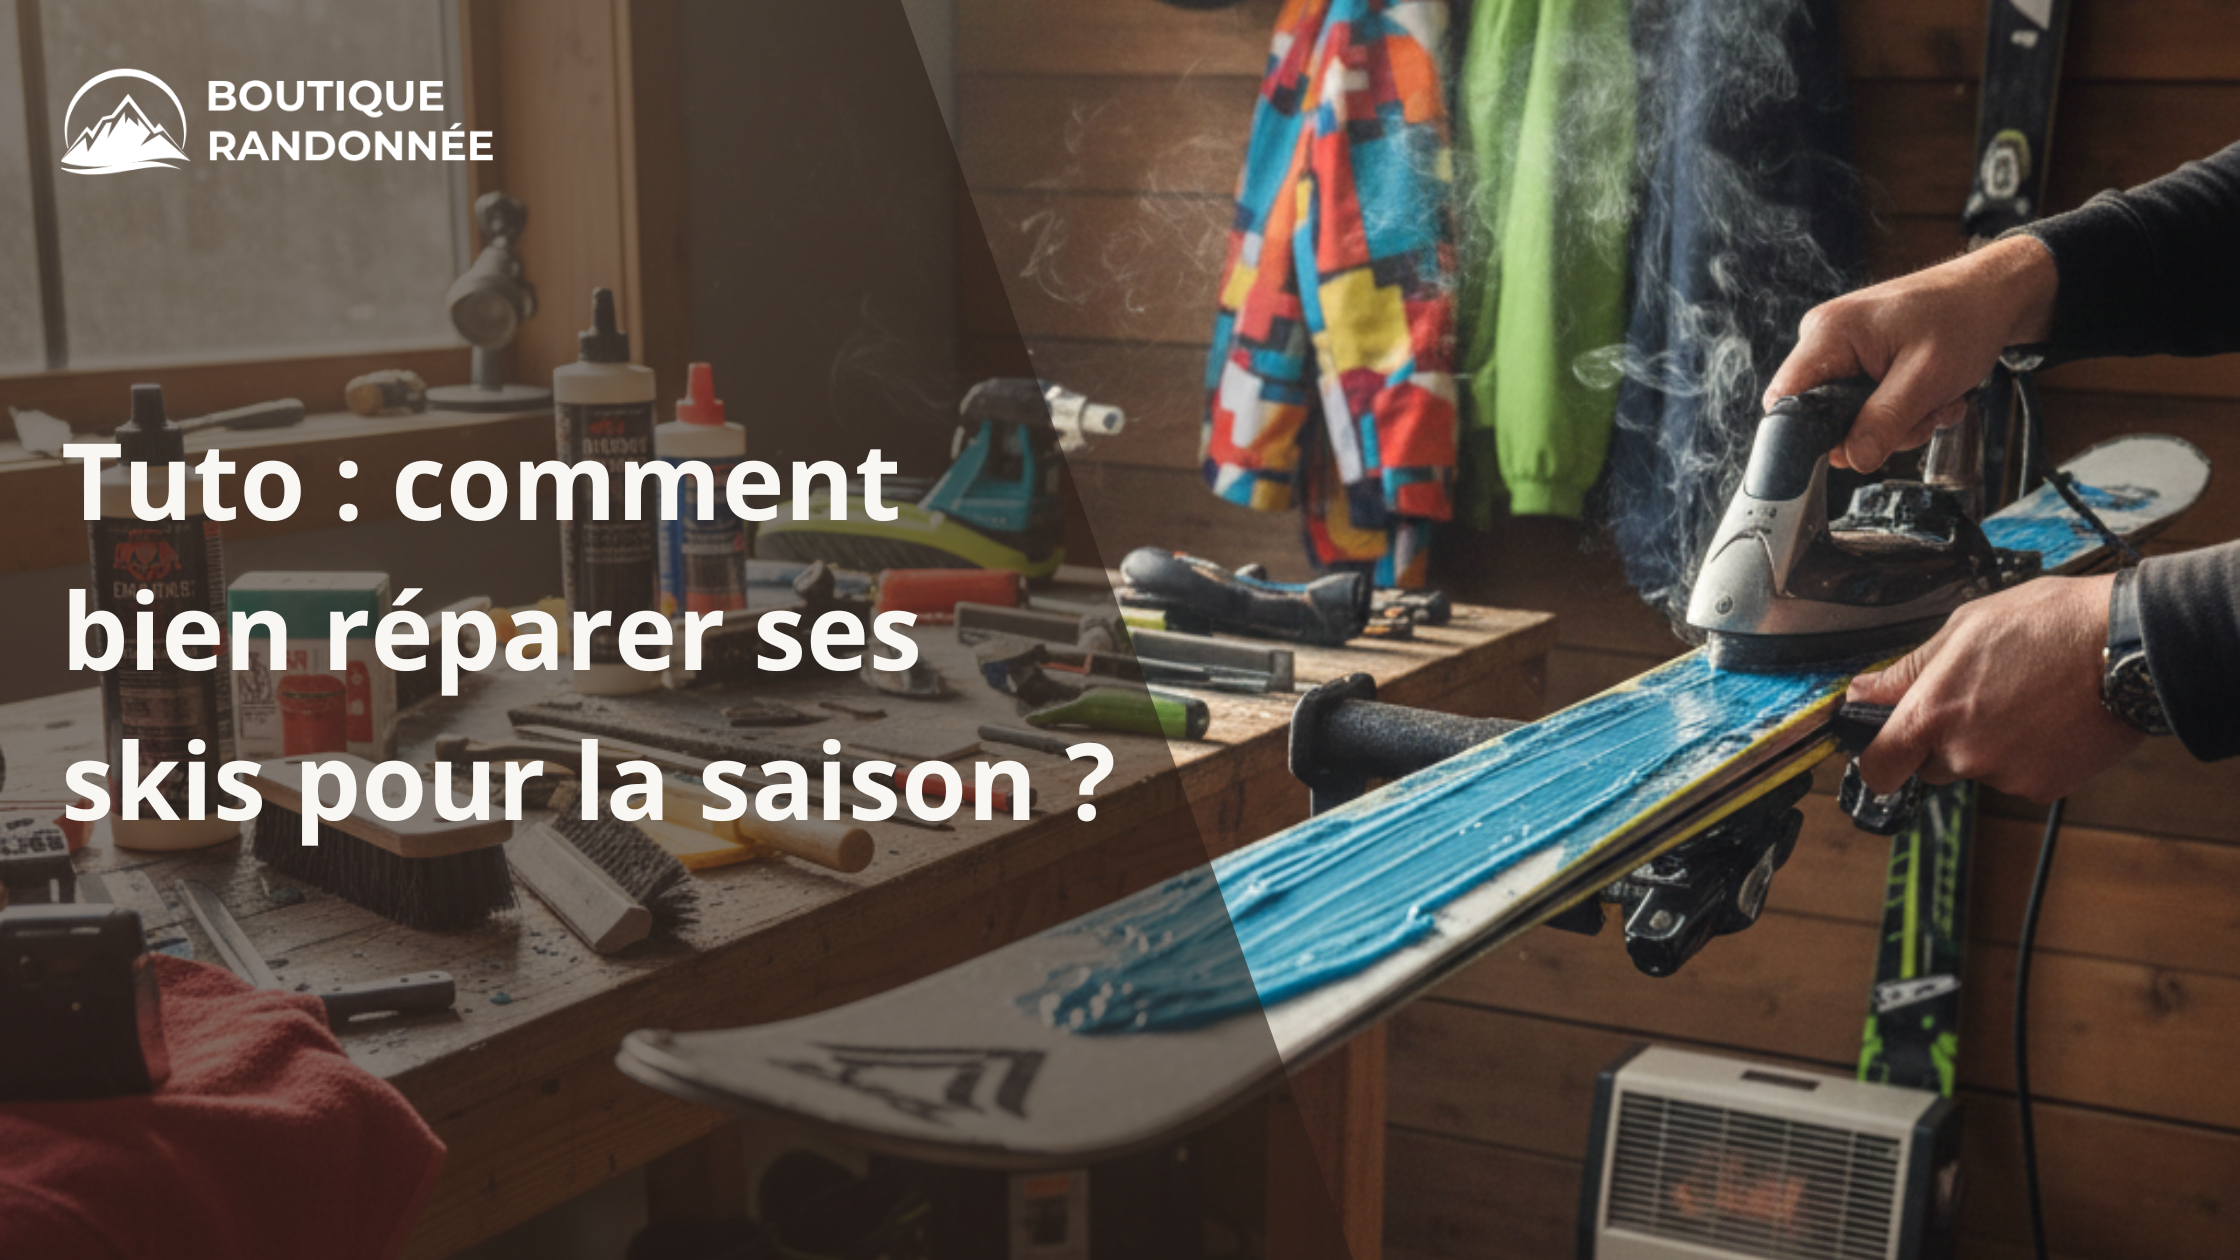
The snow is back, the resorts are gradually reopening, and the urge to hit the slopes is strong. But after several months of rest, the first outings sometimes reveal a few unpleasant surprises: damaged bases, impacts under the skis, or small holes caused by misplaced rocks.
Good news: a simple base repair is perfectly doable at home, provided you have the right equipment and take your time. At Boutique Randonnée , we explain step by step how to give your skis a second life before the season starts.

The necessary equipment before starting
First, find a stable and well-lit space. For a basic repair , you will need:
- a support to hold the skis (vises or trestles)
- a cutter
- a lighter
- a metal scraper
- a polyethylene repair spark plug
- a cloth or a brush
- an elastic band to lock the brakes
Take the time to prepare everything in advance: a successful repair always starts with good organization.
Step 1: Clean and prepare the damaged area
Start by laying your ski flat and securing the ski brakes with the elastic band. Carefully clean the base with a cloth or brush to remove dirt, dust, or wax residue.
Always work in the same direction , from the tip towards the tail. Once the area is clean, the defect will appear more clearly.
Using the utility knife, carefully remove the uneven edges around the hole. This step is essential: it allows the repair material to adhere properly and ensures a more durable repair.

Step 2: Plug the hole with the candle
Light the repair candle with the lighter. Let the first drops flow out of the ski, then, when the flame becomes stable, melt the material directly in the hole until it overflows slightly.
Then let it cool for about ten minutes. It is important not to touch the area during this time to avoid bubbles or irregularities.
Tip: Placing the metal scraper on the still-hot material can accelerate cooling.

Step 3: Scrape to reveal a smooth sole
Once the material has completely cooled, use the scraper to remove the excess. Press firmly but gently, so as not to dig into the sole around the repair.
Take your time: a well-scraped sole ensures better glide and a cleaner repair. If bubbles appear, simply poke them out slightly and repeat the process.
Finish by wiping the sole with a clean cloth.

Think about comfort for your next outings
After repair, it is strongly advised to wax your skis , as the base may have dried out during the repair.
And to fully enjoy your days on the slopes, thermal comfort remains essential. Après-ski boots are ideal for keeping your feet warm before and after skiing, while heated socks provide constant warmth during exertion, especially in very cold weather.

When the repair becomes more complex
If the sole is deeply damaged or the hole is too large, a more technical repair may be necessary, such as patching. This operation requires greater precision and expertise.
In this case, it is best to entrust your skis to a specialist workshop to guarantee the strength and longevity of the repair.
Filling or overmolding: what's the difference?
Repairing small dents is a quick and effective solution. Overmolding, on the other hand, involves reworking the entire sole to create a smooth surface and improve glide.
Even after a successful repair, keep in mind that a repaired ski remains more fragile than a new one. Increased vigilance will help prevent further damage to the area.
In conclusion
Repairing your skis yourself is a simple and economical way to extend their lifespan and approach the season with peace of mind. With the right techniques and a little patience, your skis will be ready to hit the snow again.
At Boutique Randonnée , we support winter sports enthusiasts with equipment designed for comfort and durability, both on and off the slopes.